Agent工具接入
GitHub Copilot CLI
在 GitHub Copilot CLI 中通过 providers.json 接入 AIGoCode
GitHub Copilot CLI 支持通过 providers.json 添加自定义模型。下面分别给出 OpenAI Responses 和 Anthropic Messages 的配置方式。
安装
选择一种安装方式:
curl -fsSL https://gh.io/copilot-install | bash或:
npm install -g @github/copilot验证安装:
copilot --version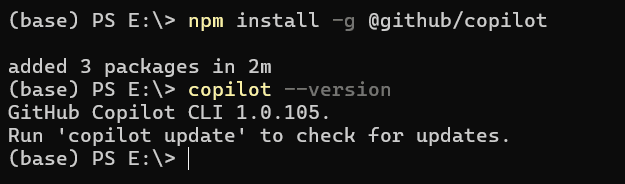
打开配置文件
创建 ~/.copilot 目录和 providers.json 文件。
%USERPROFILE%\.copilot\providers.json~/.copilot/providers.json将下面的 provider 和 model 项加入现有 providers 与 models 数组。
OpenAI 接入
在用户端控制台创建 ChatGPT API(Azure)分组 Key,然后写入:
{
  "providers": [
    {
      "name": "aigocode-openai",
      "type": "openai",
      "baseUrl": "https://api.aigocode.dev/v1",
      "apiKey": "sk-your-api-key",
      "wireApi": "responses"
    }
  ],
  "models": [
    { "id": "gpt-6-astra", "provider": "aigocode-openai" }
  ]
}
启动时指定模型:
copilot --model aigocode-openai/gpt-6-astraClaude 接入
在用户端控制台创建 Claude Code(可外接)分组 Key,再写入:
{
  "providers": [
    {
      "name": "aigocode-claude",
      "type": "anthropic",
      "baseUrl": "https://api.aigocode.dev",
      "apiKey": "sk-your-api-key"
    }
  ],
  "models": [
    { "id": "claude-opus-5-5", "provider": "aigocode-claude" }
  ]
}
copilot --model aigocode-claude/claude-opus-5-5保存默认模型
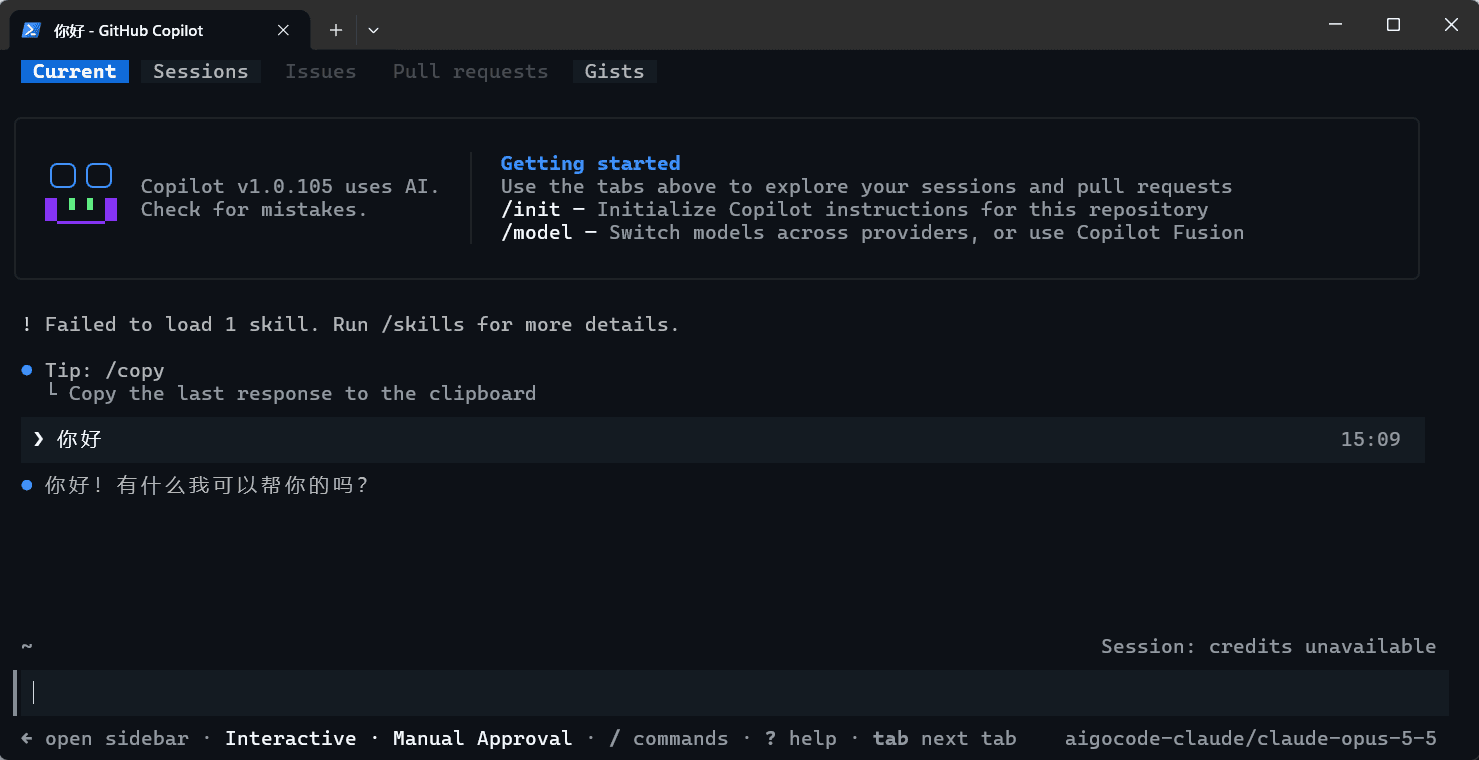
进入 Copilot CLI 后运行 /model --global,选择刚配置的模型。之后直接运行 copilot 即可使用。
验证接入
发送一条消息,收到正常回复即表示接入成功。遇到 401、403 或模型错误时,核对 Key 分组、API 地址和模型名称,并查看错误码。